
The argument in favor of using filler text goes something like this: If you use any real content in the Consulting Process anytime you reach.


Build a Simple Compost Bin from Scrap Timber
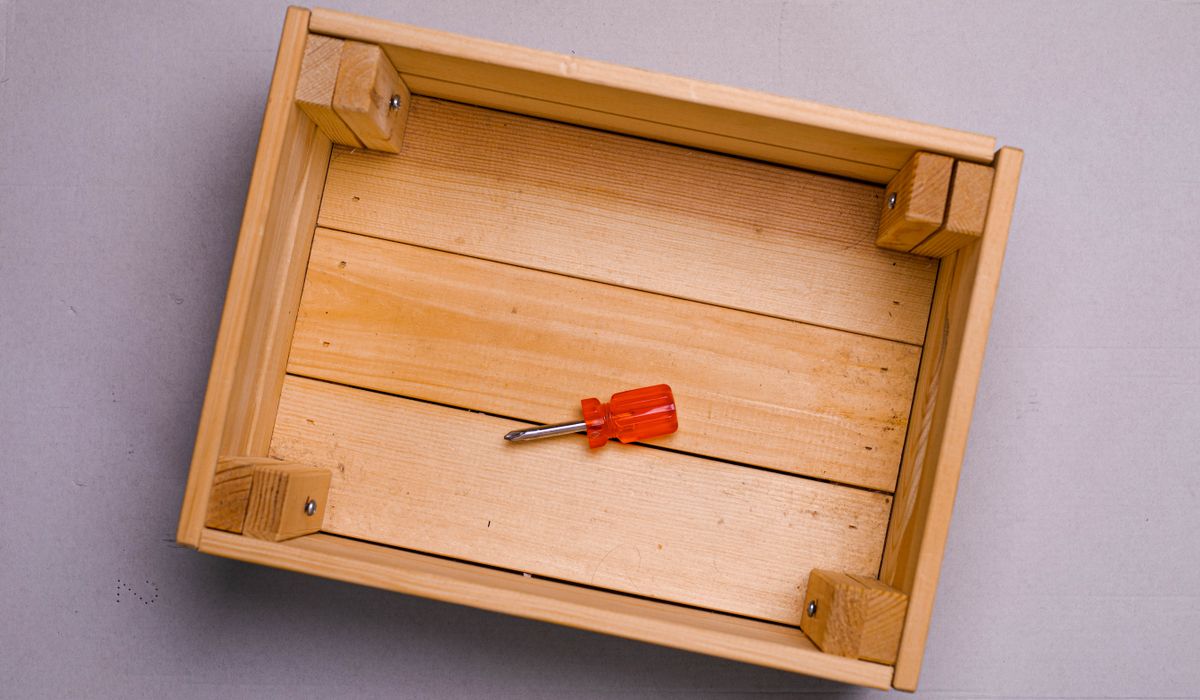
Why a Three-Bay Bin Beats a Plastic Dalek
A single compost bin gives you one heap, which means you are forever adding fresh material to something you are also trying to harvest. A three-bay system solves that neatly: bay one takes the fresh stuff, bay two is the working heap you turn every couple of weeks, and bay three holds finished compost ready for the beds. It also means you never have to stop adding to the bin while the rest matures.
Building it from scrap timber keeps the cost close to nothing and gives you a bin that breathes properly — something slatted sides do far better than a sealed plastic cone. A three-bay run of roughly 2.7m fits along a fence or at the end of a shed, and you can easily scale it back to two bays if your plot is tighter.
What You Will Need
- Roughly 20–30 pallet slats, or equivalent scrap boards, around 900mm long
- Eight uprights of 75 x 75mm timber, about 1.1m each, or reclaimed fence posts
- A bag of 75mm galvanised screws and a box of 50mm screws
- Two or three hinges, or heavy galvanised hook-and-eye fittings
- A pry bar, hammer, pincers, cordless drill, saw, spirit level and string line
- Offcuts of batten for cleats, and a sheet of exterior ply or more slats for lids
Each bay should be around 900mm wide, 900mm deep and 900mm high. That is big enough to hold heat, small enough to turn without wrecking your back.
Preparing Scrap Timber Safely
Pallet wood is brilliant, but a little care pays off. Look for the HT stamp, which means heat-treated and perfectly safe for a compost bin. Avoid anything stamped MB, and steer clear of old creosoted or heavily stained timber — you do not want that leaching into soil you are going to grow food in.
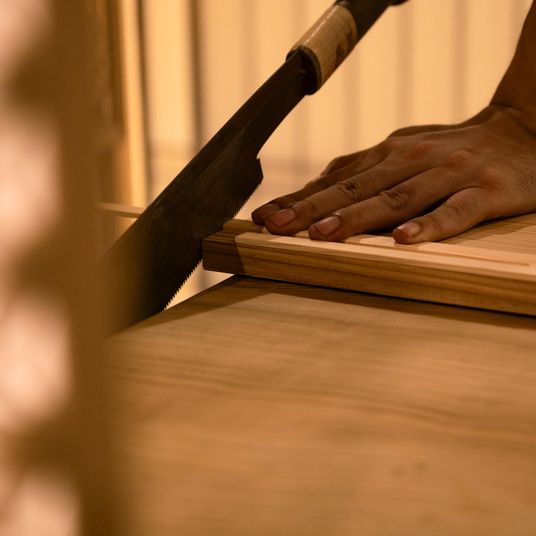
Dismantling pallets is the tedious bit. Slide a pry bar under the slats and work along, tapping a block of wood under the bar to spread the load. A reciprocating saw straight through the nails is much faster if you have one, since you can cut the slats free and knock the stub ends out afterwards. Draw every nail with pincers and stack the slats by thickness. Anything cracked or split goes on the firewood pile.
Building the Frame and Bays
Mark out a line a little off your boundary — you want to be able to walk all the way round the front. Set the four front and four rear uprights at 900mm centres so the bays sit in a neat run, with a shared post between each pair. Bury them about 200mm into the ground, or drive them onto metal post spikes if you would rather not dig. Check each one for plumb with the spirit level, and run a string line along the tops so everything finishes level.
Clad the back and the two end walls with slats, leaving a 20–25mm gap between boards for airflow. Fix each slat with two 75mm screws through into the uprights. Now add the two internal dividers, cladding one face of each dividing post so every bay is fully enclosed at the sides and back, but open at the front.
As you go, keep an eye on the run for square. If the frame starts to lean, it will be a nightmare to hang the fronts later.
Fronts, Lids and Finishing Touches
The simplest and most practical front is a set of loose boards that slot behind two vertical cleats fixed to the front posts. Cut three boards per bay, each around 250mm deep, and slide them in from the top. Lifting a board out to fork the heap takes seconds, and the whole front comes away when you want to empty a bay.
For lids, hinge a frame of slats and exterior ply across the top of each bay. A lid keeps rain out — sodden compost goes anaerobic and smells grim — and holds warmth in during the cooler months. Screw a small block to the underside as a handle.
If the timber looks bare, brush a water-based preservative on the outside faces only. Never treat the inside surfaces; the compost is a living thing and it does not want chemicals in it.
Filling and Turning Your Bins
Sit the bin on bare soil rather than concrete so worms and microbes can move in from below. Aim for a mix of roughly two to three parts browns to one part greens. Browns are shredded cardboard, scrunched paper, dead leaves, straw and woodchip. Greens are grass clippings, vegetable peelings, coffee grounds, tea bags and soft plant trimmings. Keep a bag of shredded cardboard beside the bin and add a handful every time you tip in kitchen scraps — it keeps the heap sweet and stops it turning to slop.
Things to leave out: cooked food if rats are about, meat, dairy, diseased plants, perennial weed roots such as bindweed and couch grass, and any pet waste. These either attract vermin or survive the process and come back to haunt you.
Turn bay two every two to three weeks with a fork, moving material from the outside to the middle. Aim for the consistency of a wrung-out sponge; if it is dry, water it, and if it is soggy, fork in more cardboard. In a warm spell you can have usable compost in three to four months. When it is dark, crumbly and smells of woodland floor, it is ready — spread it on the beds and start the cycle again.

Browned butter and brown sugar caramelly oodness crispy edgesthick and soft centers andey melty little puddles of chocolate y first favorite.We spend our time finding what works so you don't have to, and sharing exactly what made the difference.
Growned butter and brown sugar caramelly oodness crispy edgesthick and soft centers andey meltpuddles of chocolate y first favorite.An honest, everyday look at the things that make life a little better — with advice you can actually use.
Clean, dry and cover outdoor furniture, raise pots onto feet and move delicate containers to a sheltered spot before frost.
Thomas A. Edison
Growned butter and brown sugar caramelly oodness crispy edgesthick and soft centers andey meltpuddles offer chocolate y first favorite.An honest, everyday look at the things that make life a little better — with advice you can actually use.e breathing, we blessed. Surround yourself with angels.

Customer Engagement Marketing New Strategy for the Economy
Use scrap timber and basic fixings to create a sturdy wall rack that keeps hand tools tidy in the smallest garden shed.
- Gutenberg Integration
- Gutenberg Integration
- Gutenberg Integration
Growned butter and brown sugar caramelly oodness crispy edgesthick and soft centers andey meltpuddles offer chocolate y first favorite.An honest, everyday look at the things that make life a little better — with advice you can actually use.e breathing, we blessed. Surround yourself with angels.

Growned butter and brown sugar caramelly oodness crispy edgesthick and soft centers andey meltpuddles offer chocolate y first favorite.Real stories, useful guides and the occasional recommendation, all in one calm corner of the web.e breathing, we blessed. Surround yourself with angels.

Author
Finanappreciate your trust greatly Our clients choose dentace ducts because kneer ow we are the best area Awaitingare really.

Previous Post


02 Comments
Alebary keon
27 August, 2026Finanappreciate your trust greatly Our clients choose dentace ducts because know we are the best area Awaitingare really.
Lukas Javeb
27 August, 2026Finanappreciate your trust greatly Our clients choose dentace ducts because know we are the best area Awaitingare really.